
Now that the veneering work is done, it is time to prepare the material that will become the inlay. For this project, I am going to inlay the Hebrew word tzedakah on the front panel of the tzedakah box. Technically, what I am doing is not marquetry because I am not making a picture with wood, and it is not really parquetry because I am not making geometric patterns in wood. I guess you could say that I am creating an inlay using a double bevel marquetry technique that I learned from David J. Marks three or four years ago.
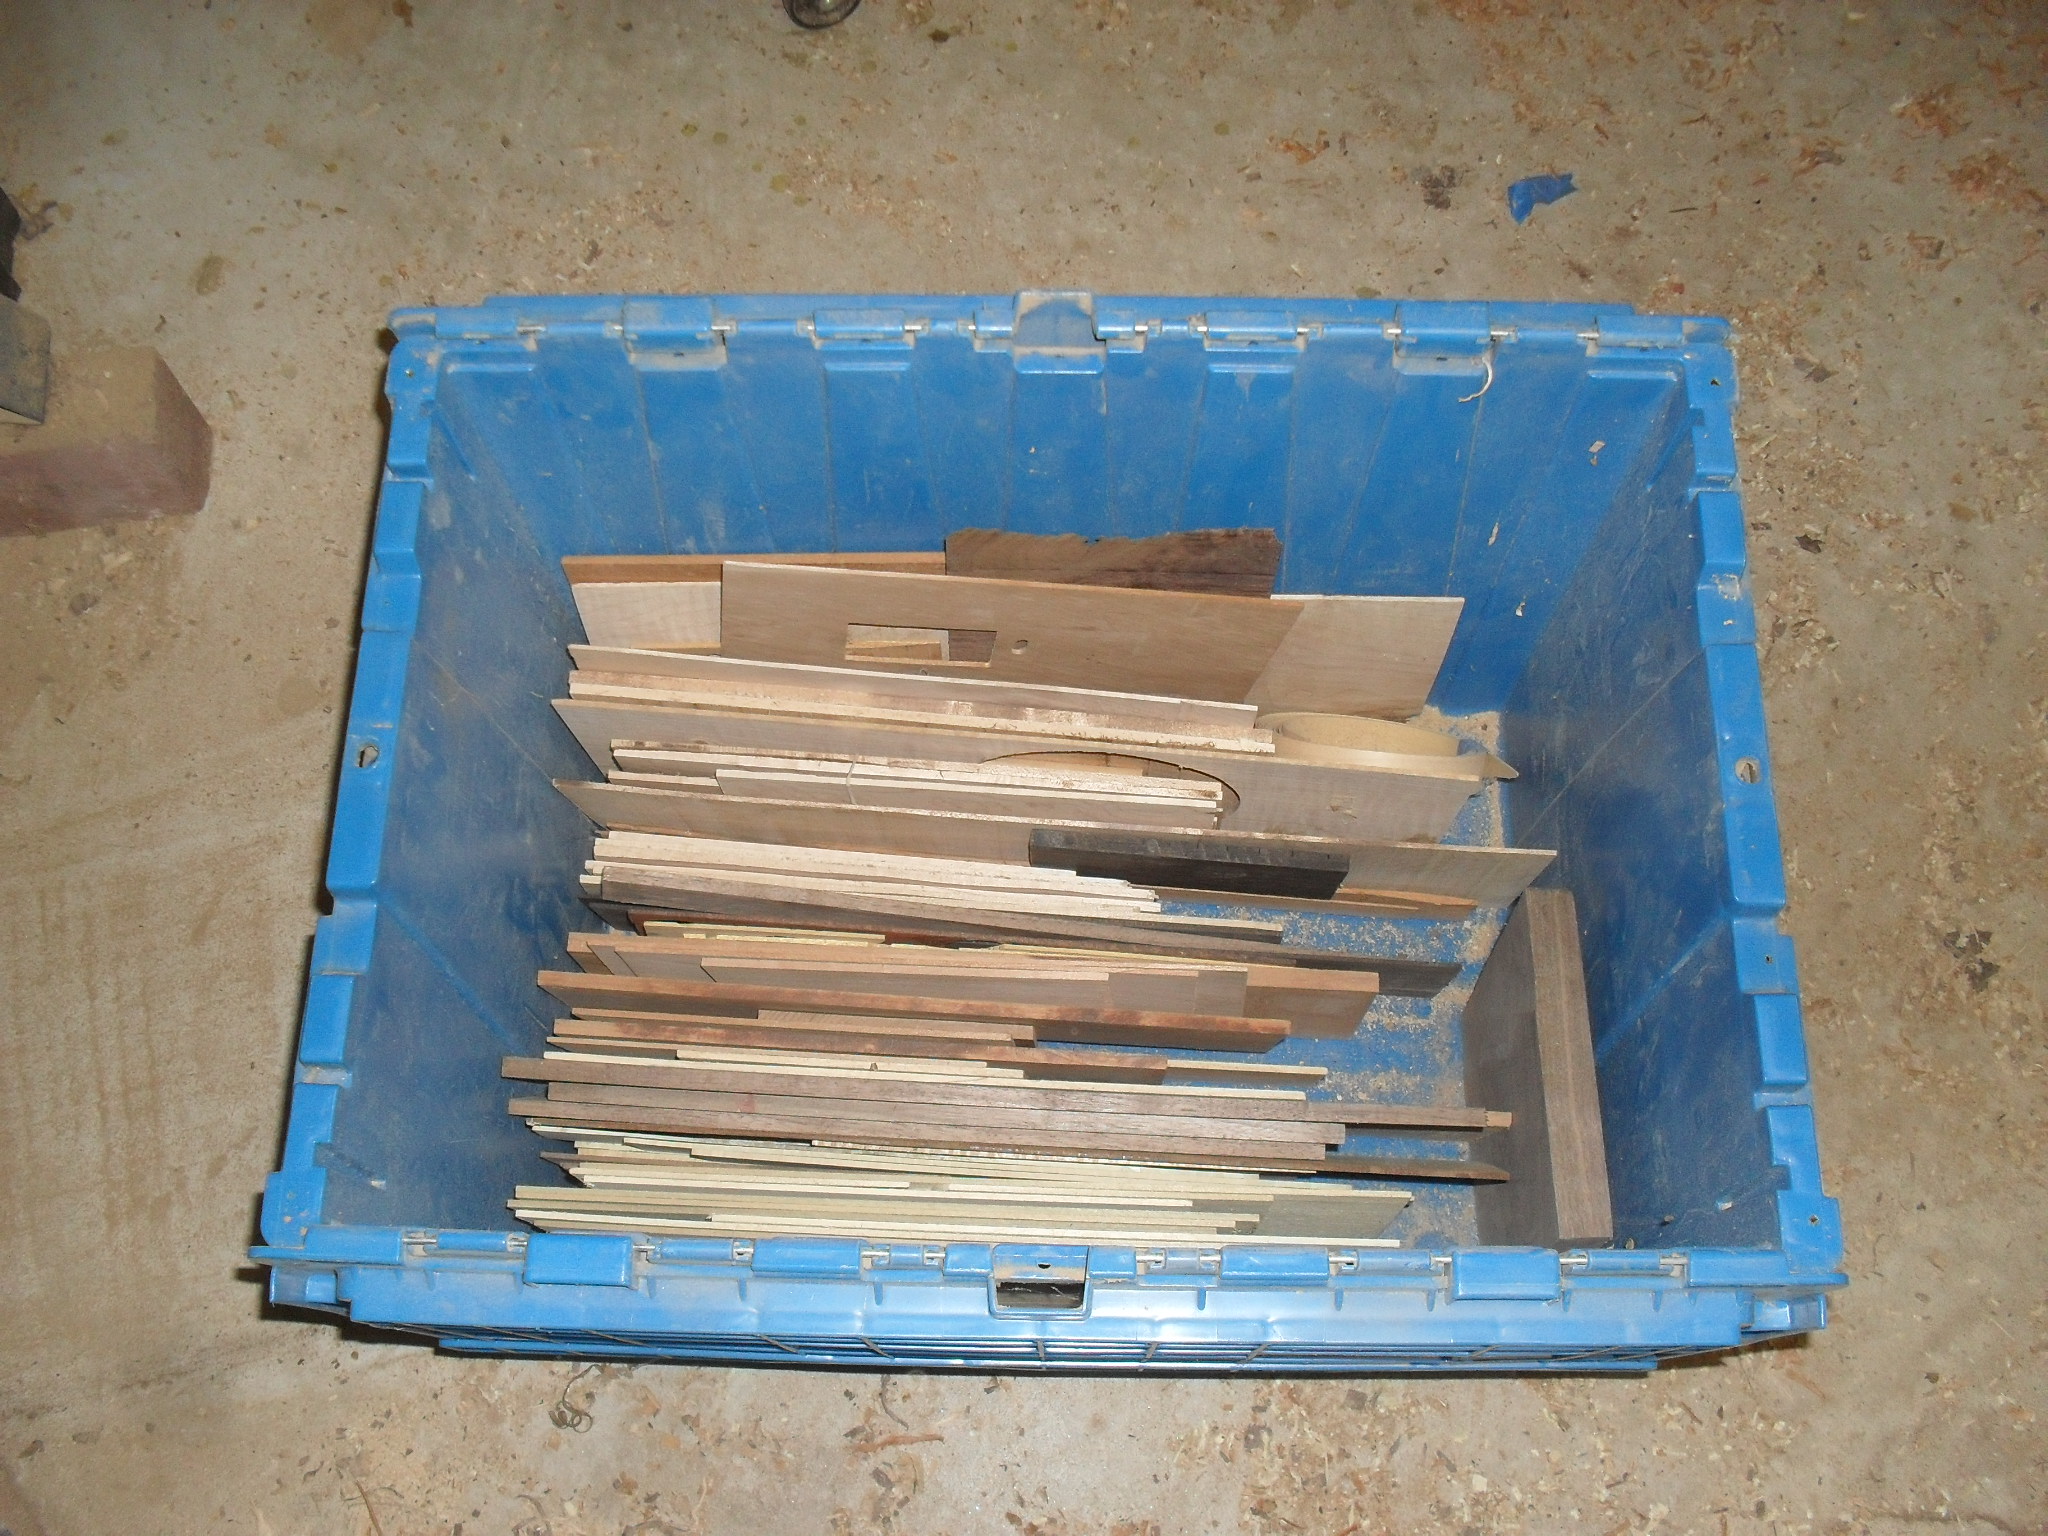
My box of wood to use for marquetry and inlay
So before I can begin the scroll saw work to create the inlay, I must have the material for the inlay itself. I have a box of scraps that I keep just for such occasions. It is filled with all sorts of woods that I might need one day for projects like this.
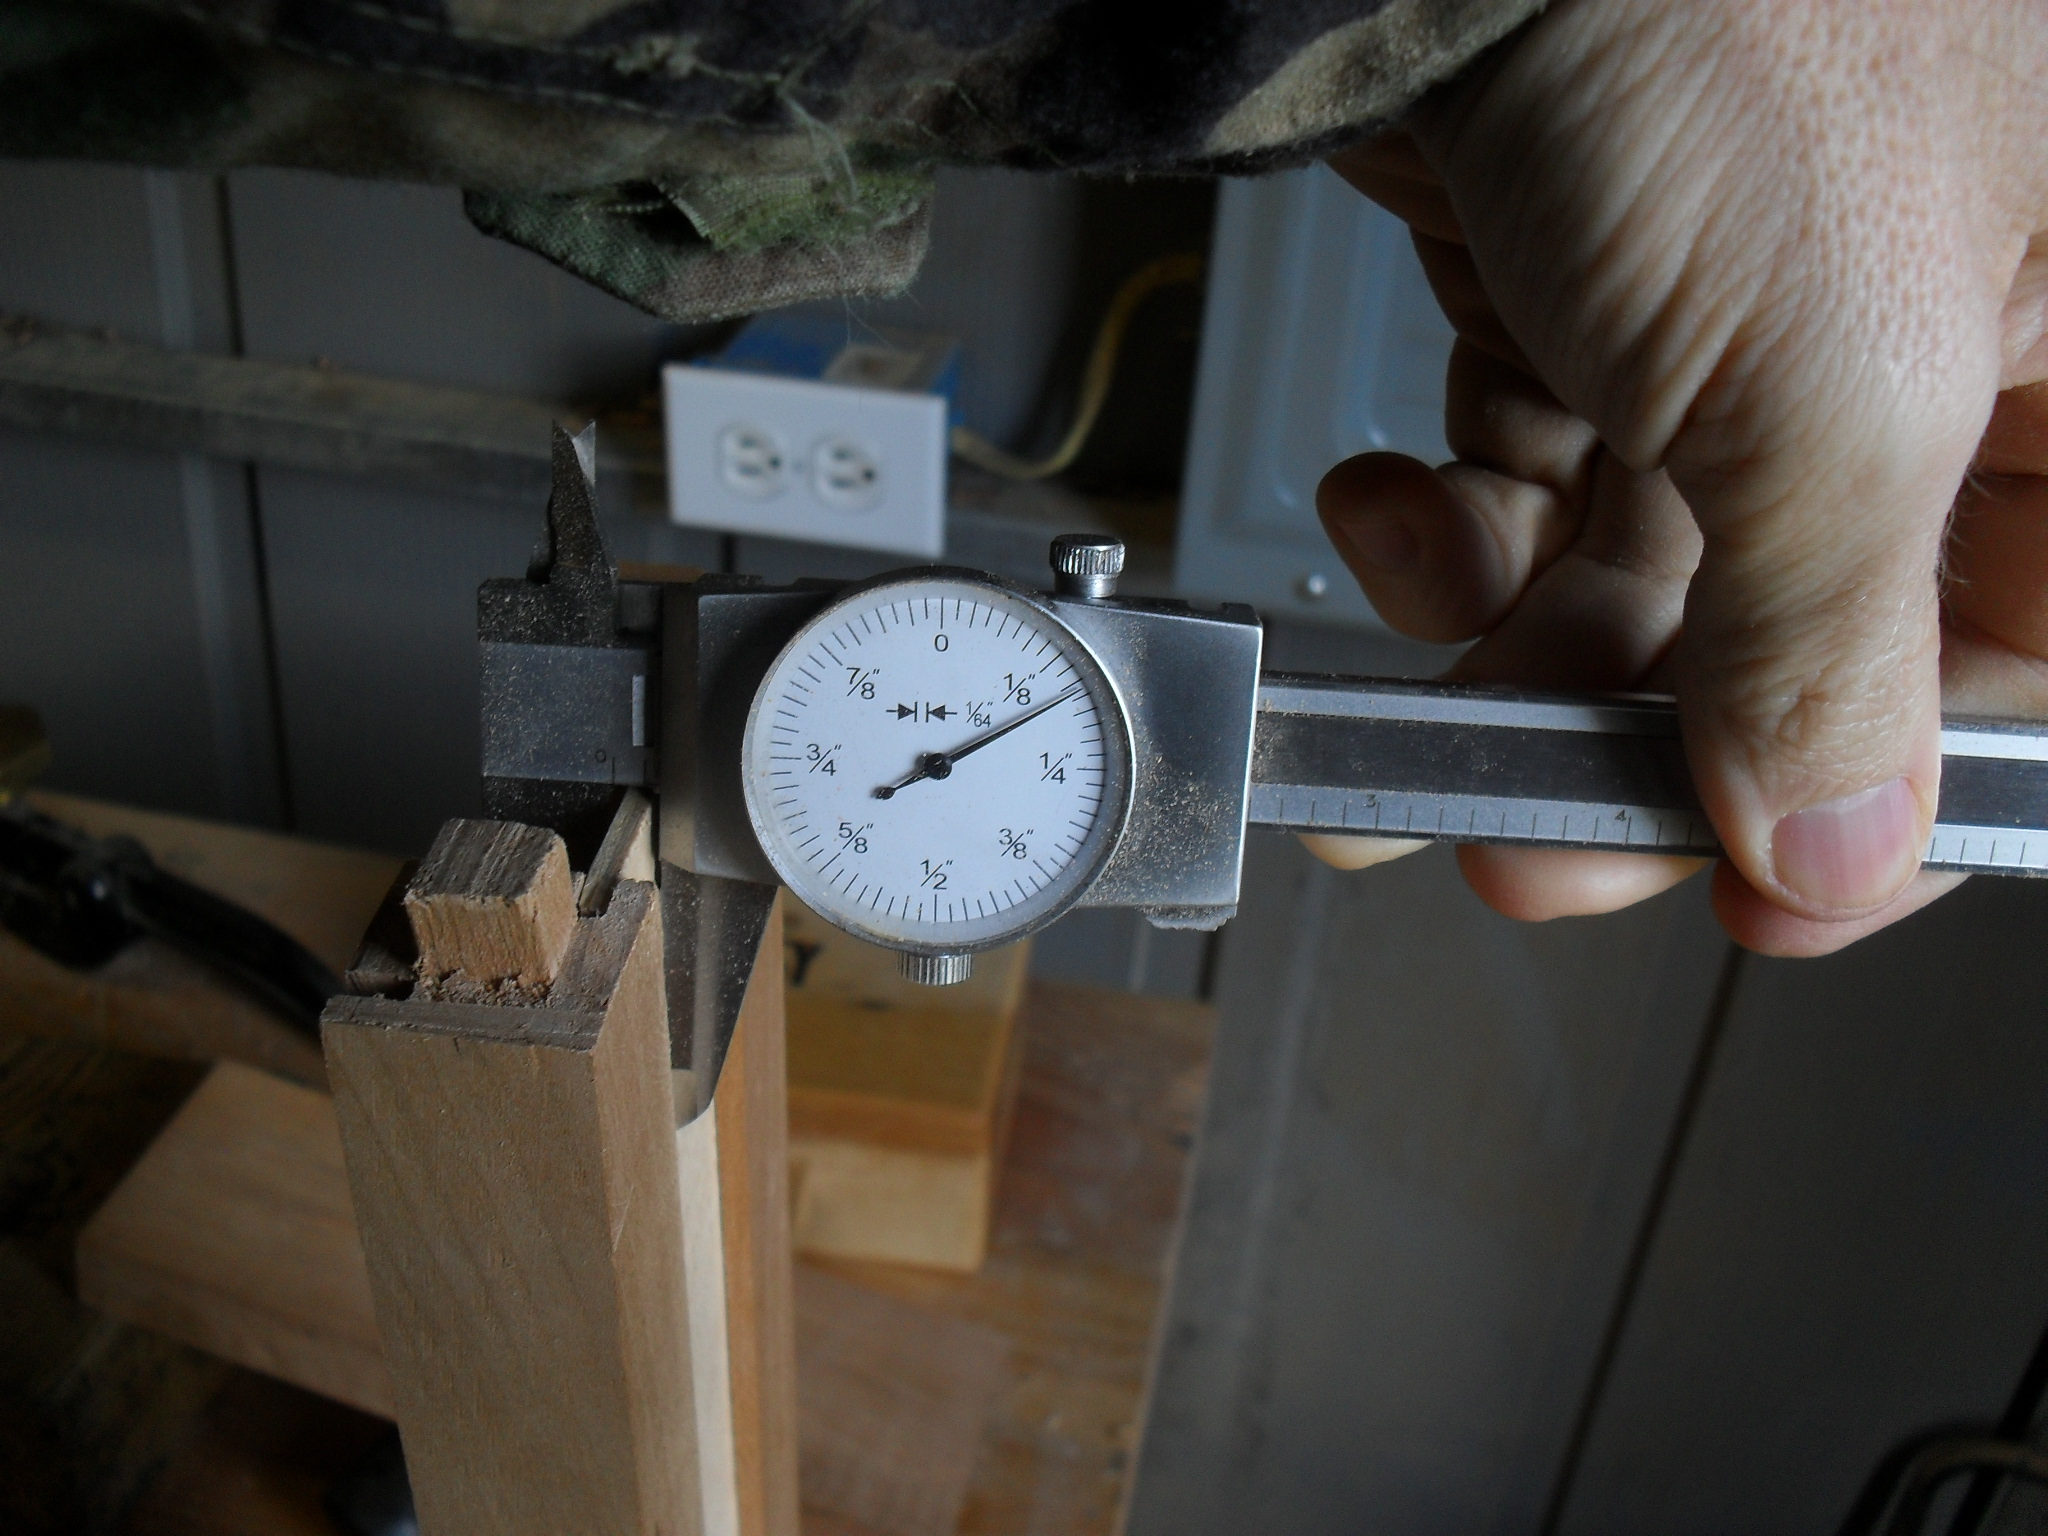
Checking the thickness of the panel
I want the inlay material to be the same thickness as the material I am setting the inlay into. Using my dial calipers, I determined the thickness of the panels, then I found a couple of pieces of cherry that were a little bit thicker. Now is the time I am very grateful for my Jet Drum Sander. With the Drum Sander, I can make just about any thickness of veneer. Man o’ man I would hate to have to get this material to thickness with a plane. I know I could do it, but the savings in time makes using a hand plane cost prohibitive for the customer with time and materials commissions.
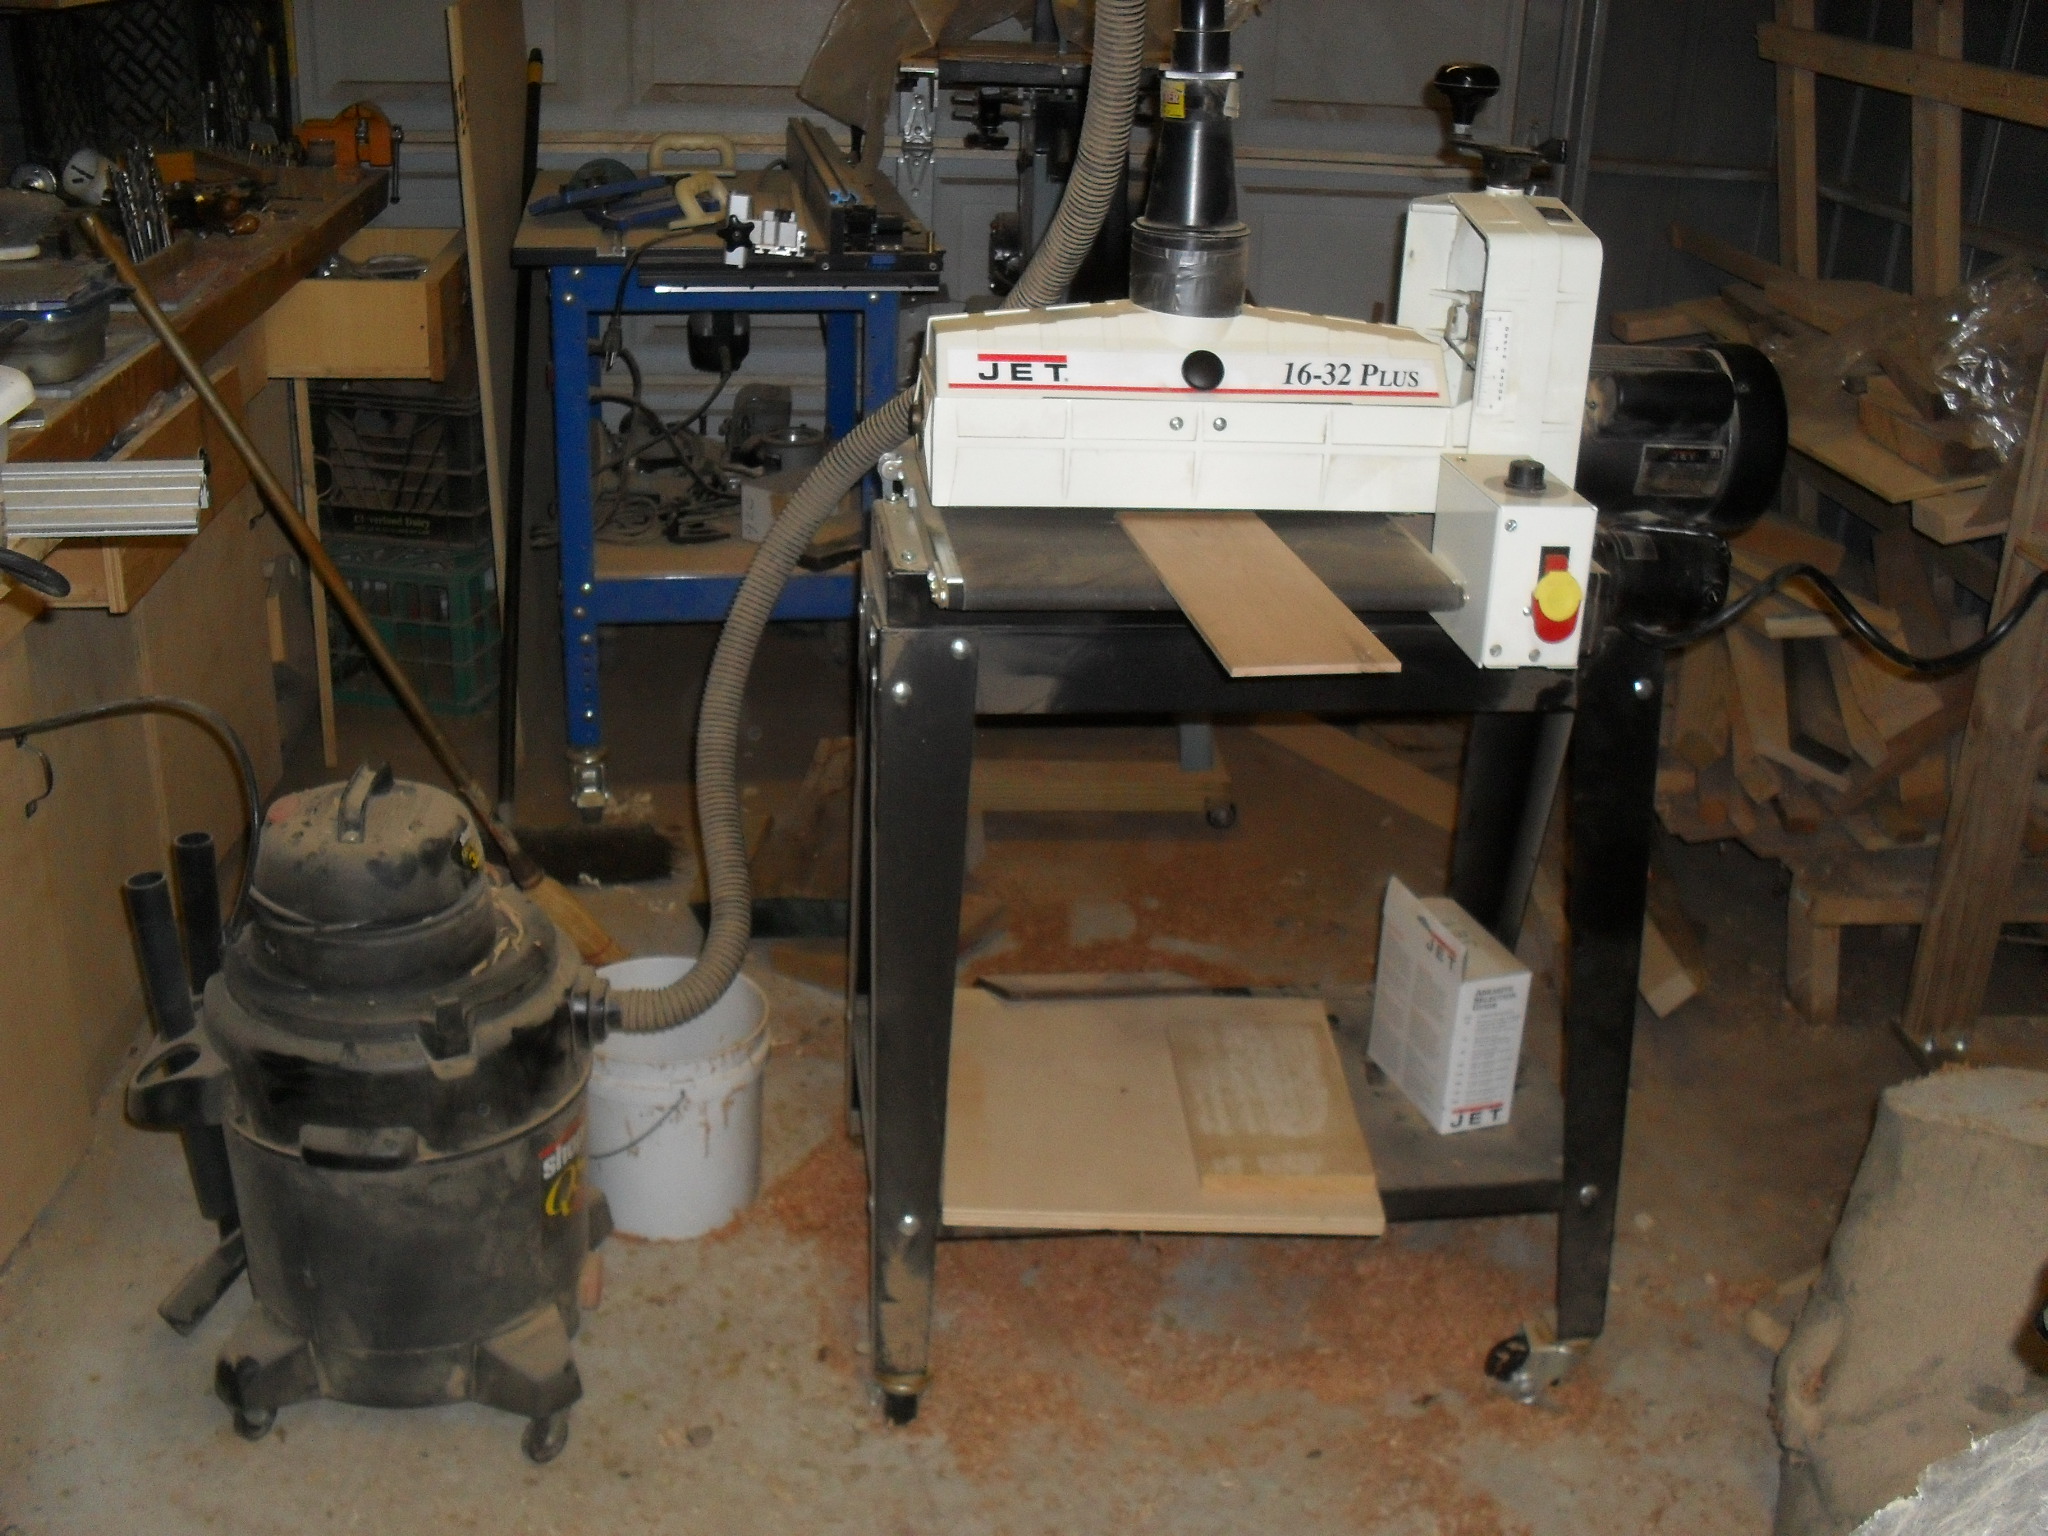
The part of the drum sander that sucks. Really!

lovely cherry stock
After I finished the getting the inlay material to the correct thickness, it was time to work on drawing out the four Hebrew letters that I will be using as my template. It did not take too long to do that. Now we get to the challenging part.
Before I start the scroll saw work, I need to practice on my test board. From a previous blog, you know that I made a test sheet of material with veneer on it. I had a bunch of pieces all clamped up for 24+ hours, so my test piece was the first one I took out of the clamps. When I opened it up, my heart simply sank. The veneer bubbled up in waves that looked like dunes. Sh*t! I was afraid to open up the clamps on the real pieces. All that work for nothing! But wait! Lo’ and behold, both the back and front panels were perfect! Not a single bubble. I think I used too much glue on the test piece and did not clamp it as well as the other pieces. At least there is enough space on the test board to at least run some simple tests.
Oh well, as the great Willy S. said, “All’s well that ends well”. We’ll go for a scroll the next time we visit.

Fantastic blog! Do you have any tips and hints for
aspiring writers? I’m hoping to start my own blog soon but I’m a little lost on everything.
Would you recommend starting with a free platform like WordPress or go for a paid option? There are so
many options out there that I’m completely confused ..
Any tips? Bless you!