
I frequently find myself telling people that I pretty much have every piece of equipment that a woodworker could want. Of course, you can never REALLY have enough tools. And if you believe you do have everything you need, or want, then you are just fooling yourself. No woodworker could possibly resist another great tool.
Well, lately I have found myself wishing for something that I simply don’t have the money for right now. And you know what, it sucks! That’s right. It flat out sucks. You do know that I am talking about a vacuum press right?! After all, you knew that I have been working on veneering lately.
The first time and second time I used veneer for a commission, I was not pleased. I used an iron on cherry veneer. Unfortunately, the adhesive was not very good, and I got a couple of bubble ups. They were very difficult to correct and that pretty much swore me off veneer. This project forced me to look at veneering again, so this time I got a veneer that you glue on yourself. So let me tell you how it works.
Earlier in the week, I started veneering the small sides of the box. They were an easy way to start off. All I had to do was lay the piece of plywood on the sheet of veneer and trace around it with a pencil, then use my marking knife to trace over the lines in multiple passes until I got a nice clean cut. (Yes, I know,,, I should have used a veneer saw, but don’t have one of those either okay!) Next, I applied a very liberal amount of Titebond III glue to the plywood side and set the piece of veneer in place. I had a number of small pieces of blue painter’s tape ready to put around the edges to hold down the veneer and keep it from curling up.
Now is the time that I wish I had a vacuum press. So what is a vacuum press you ask? Imagine a great big zip-lock bag with a piece of plywood with veneer on top of that inside the bag. To adhere the veneer to the sub-straight (plywood), you need two things; the glue, and the clamping pressure. The veneer is glued on, and then the piece is put into the big plastic bag and all the air is sucked out creating a huge amount of very even clamping pressure.
The vacuum pressure can be achieved by the use of an electric vacuum pump or with another type of device called a ventrui, but there’s no need to go into that detail here.
To get the clamping pressure I needed, I placed the veneered pieces between two large pieces of wood and used clamps to create even clamping pressure to make sure the veneer stays flat. I let the glue cure for a full 24 hours.
Next, I used a block plane to trim off the excess veneer which was a very quick job. Then I used the block plane to chamfer the edges on the back side of the plywood so they would slide easily into the grooves of the rails. Now I am waiting for the last piece to cure in the clamps.
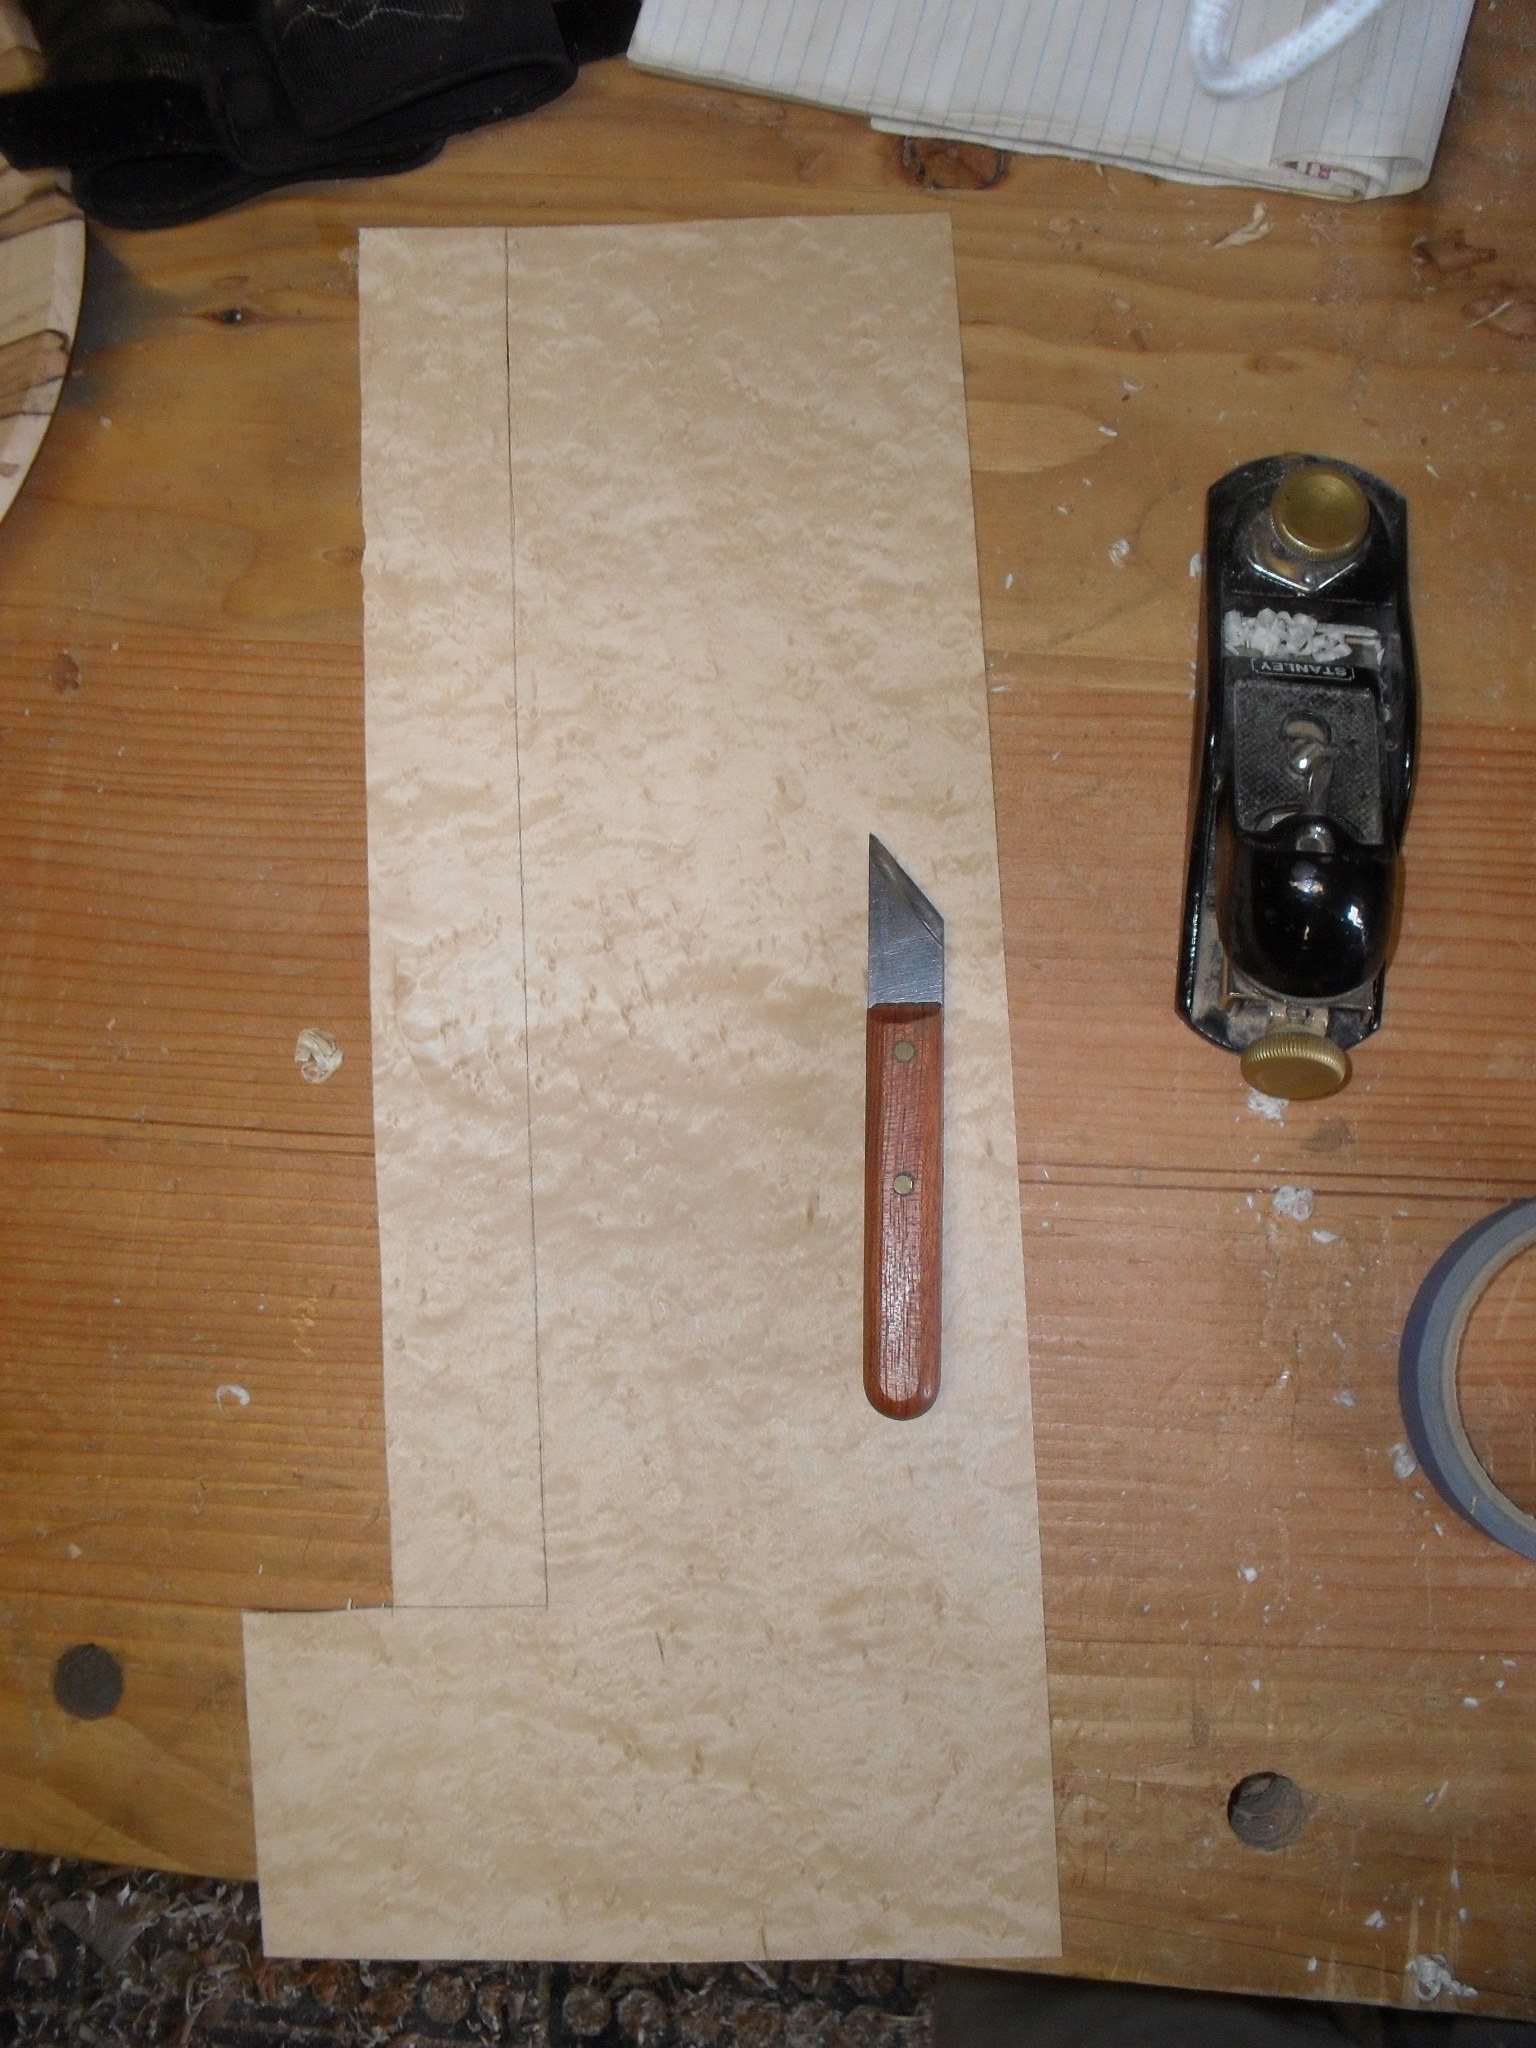
cutting out the veneer
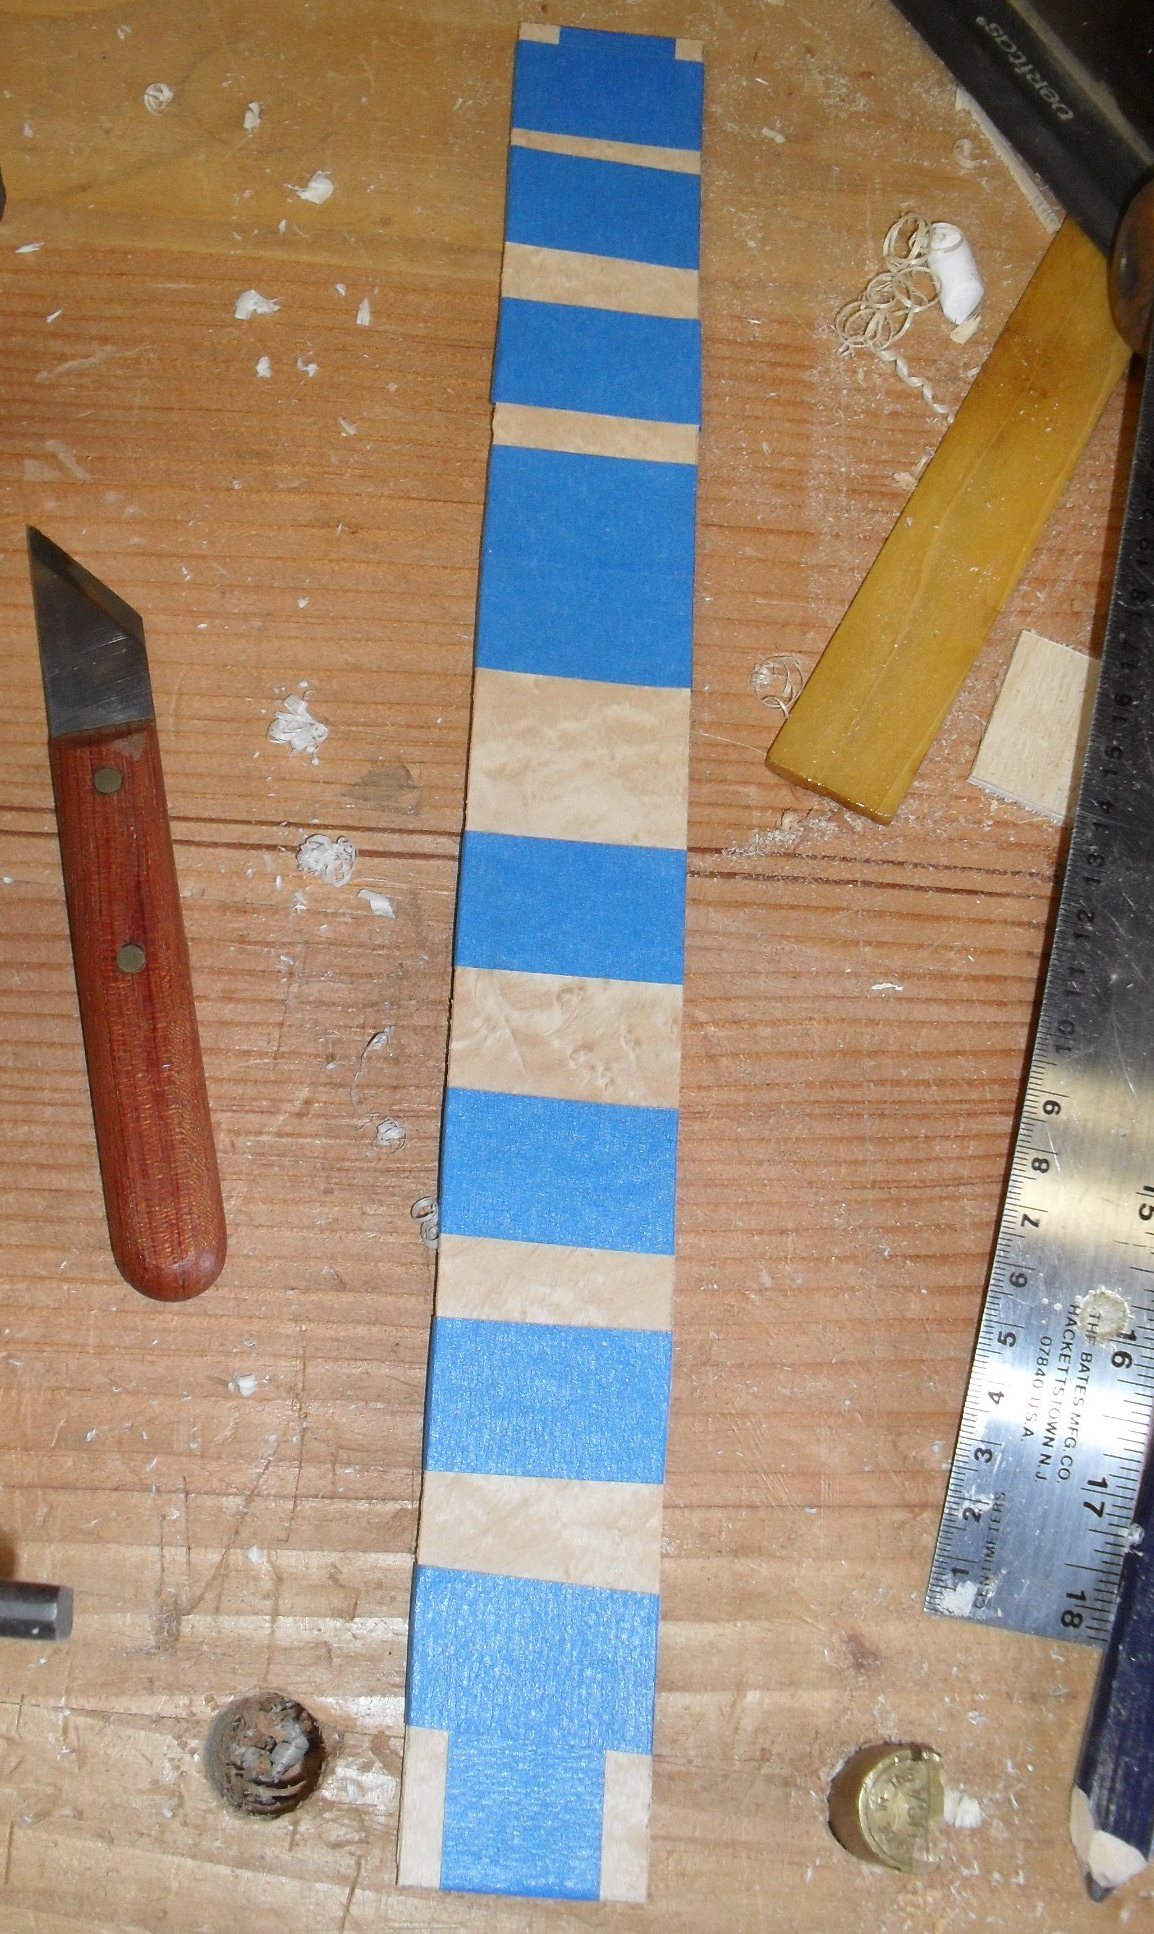
Veneer taped up to plywood
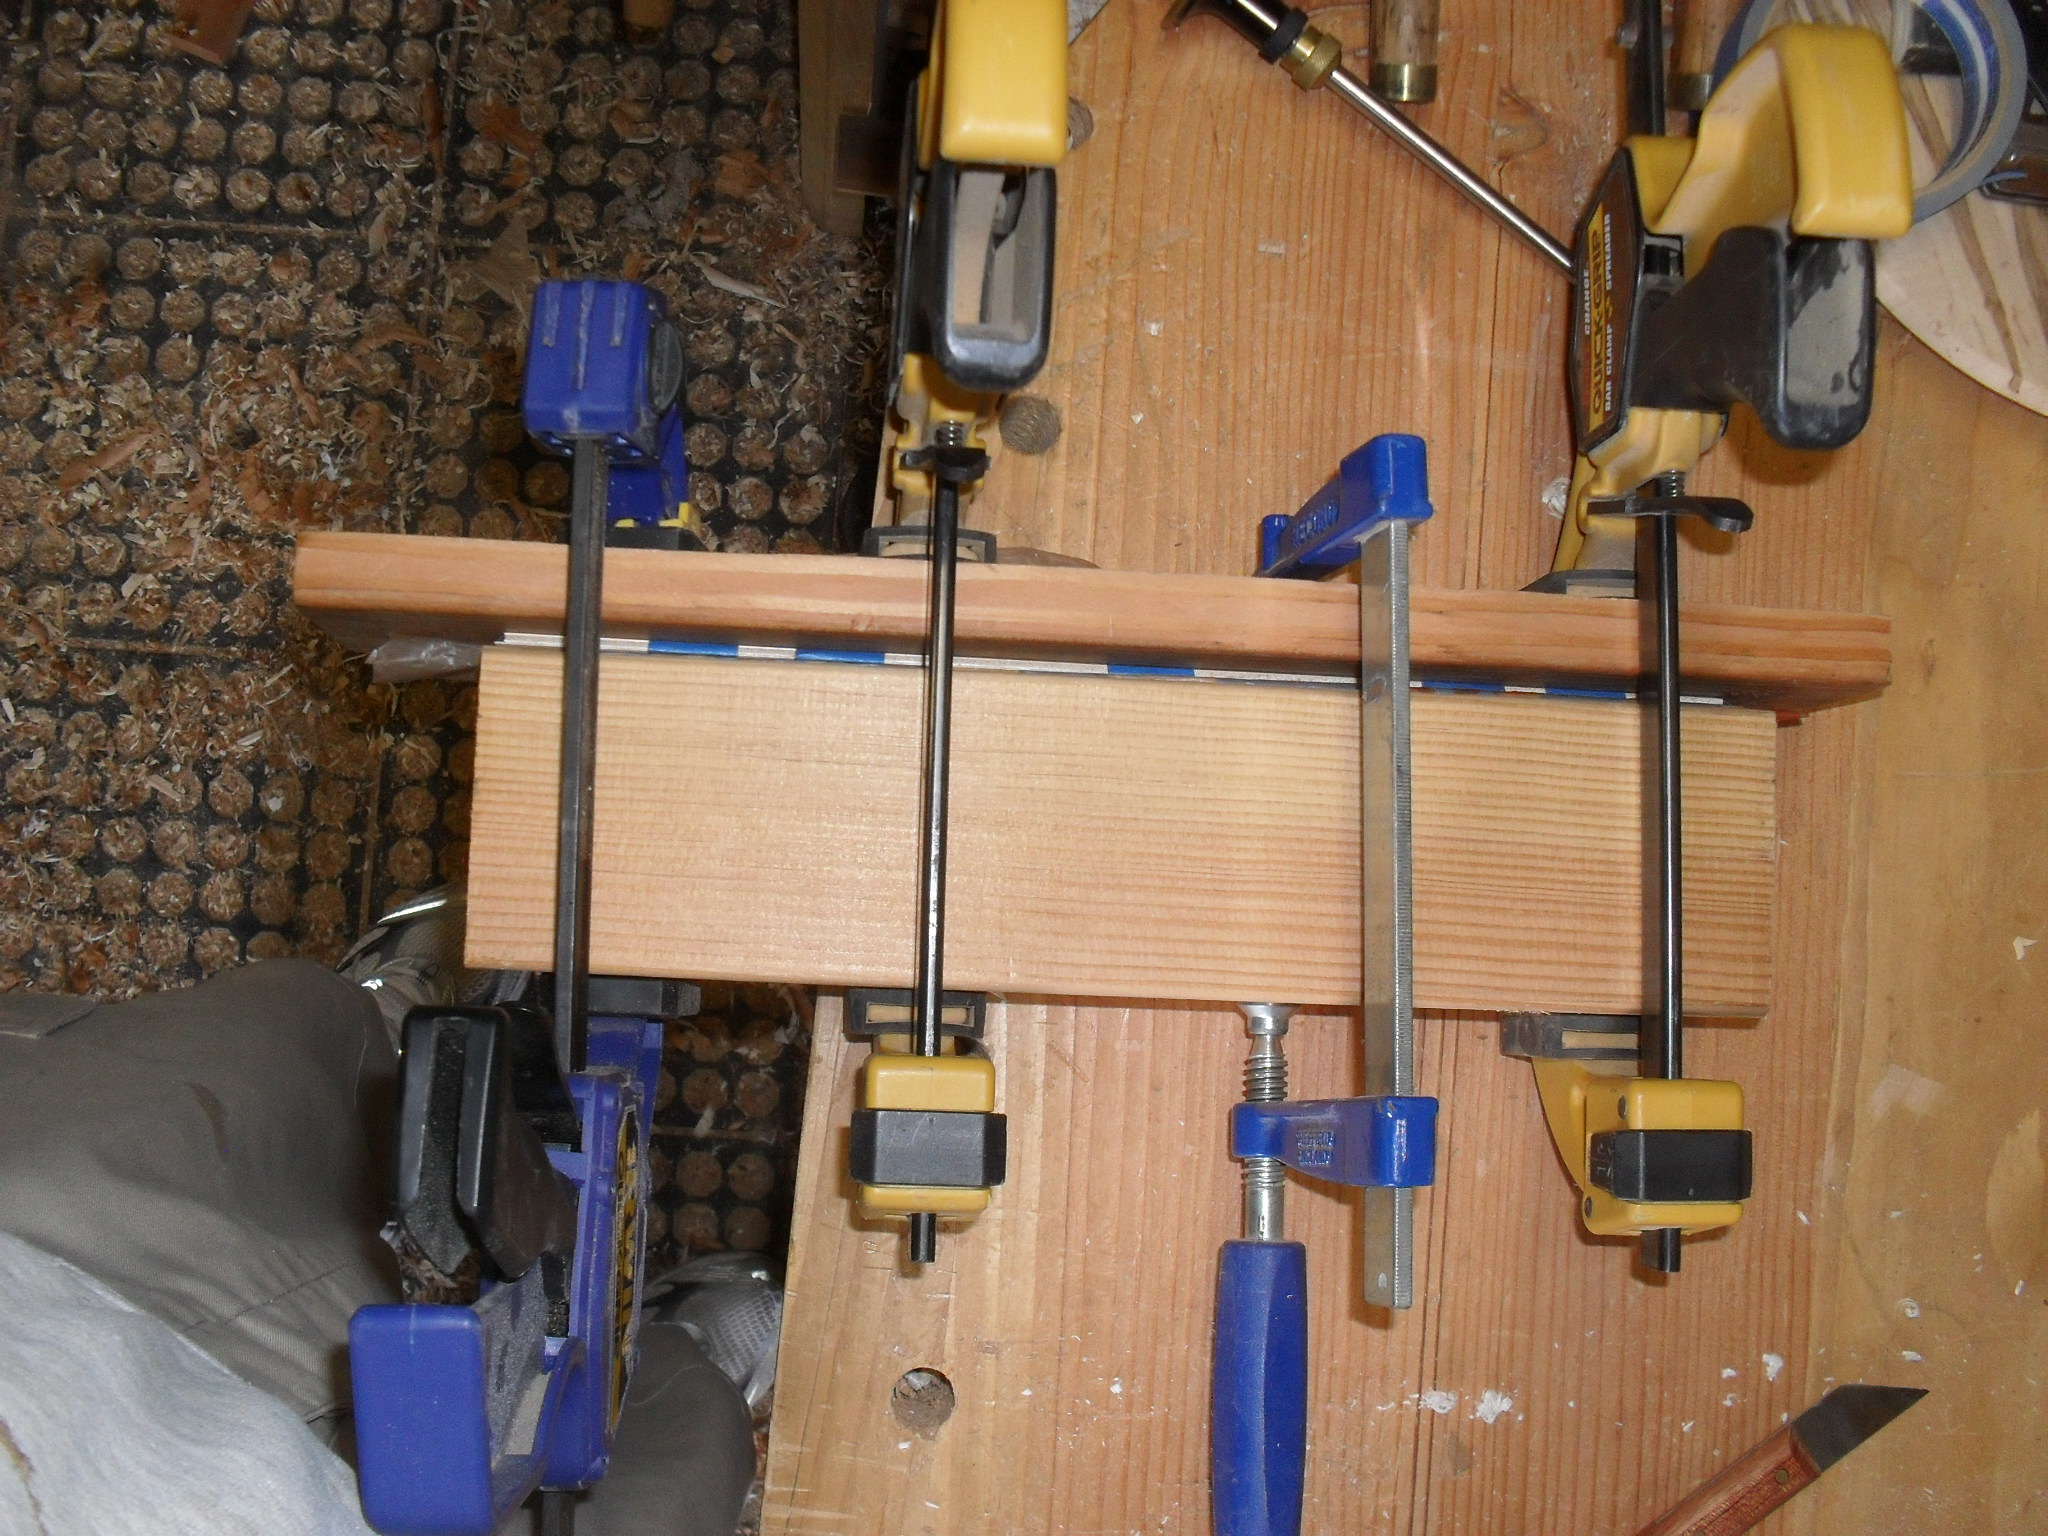
Clamped up
Now comes the hard part. The marquetry work. First, I have to draw out the design, then make the cherry veneer sheets that will become the letters. But before I start the doing the marquetry on the front, I am going to run some tests on a small piece of 1/8 plywood that I veneered to make sure I have the system down pat. I have come too far to make a mistake now.
More to come……

You may not realize it but I am a source for some of the finest veneers available. Look at my site under veneers.
Blair
Hi Yaakov, have a look at Barry Lorimer’s YouTube videos on veneering.
I started veneering in the same manner as you and wanted a vacuum veneer press but lacked the $$. I do not have a vacuum press now. I do my veneering with hot hide glue following Barry’s examples. I bought a wax pot (that ladies use to wax their legs) to keep the glue hot through eBay ($25). We had an old iron in the house (but they are cheap new or a few $$ from a flea market or garage sale). I made my own veneer hammers. A bit of 3mm (1/8″) MDF or ply to keep the mess wetting your bench is handy. Use a saw to scratch the substrate rather than a toothing plane. Once the veneer is damp and hot it becomes limp, doesn’t tend to curl and the hot hide glue really works well to secure the veneer.
Remember to veneer both sides of the substrate.
Regards,
Paul
That sounds like quite a project
A vacuum press is valuable for veneering curved work. For flat work a mechanical press works just fine.
A vacuum pump can be made out of an air compressor by reversing the ports, i.e. sending the compressed air into the atmosphere and sucking out of the tank. I have seen this done, but have never had the need to do it myself.
Depending on the size of the job, you may be able to use one of those clothes storage vacuum seal bags. I’ve used one in the past for small panels and it worked well. Of course, you also need a vacuum for that. 😉